Did you know that your site’s images can affect your search engine placement? If images are slowing down your site, you will be penalized in Google – not to mention frustrating your site visitors. Here are some tips for you to review before you upload the next image to your site or blog.
Don’t use images when you can use text – When I optimize sites that were created by someone else, the first thing I do is look for images that can be replaced with text, like headers, buttons, or even logos! “Text-images” take up much too much space, load slowly, and are not accessible to the visually-impaired. Buttons like this can be easily created in text and style code:

The only exception would be in your Featured Image for a post, which will get displayed on social media. More on Featured Images, below.
If your logo is just a word, chances are you’ll be able to recreate it in text. One site that could easily change its logo to text is Ebay – yes, even big companies make this mistake!

However, if your logo is highly stylized or contains any kind of graphic element, then it should remain an image. A great example is the Nike logo with its iconic swoosh:

Another tip: make sure you don’t put your motto or tag line in the graphic. That should be rendered as text on your site.
Image Format: Photographs should be uploaded in JPG format, NOT PNG! The only time you’ll need a PNG is if you need the background to be transparent. Forget the GIFs altogether – they tend to be larger and are only necessary if you need animation.
Other image formats include WebP and SVG. WebP is a fairly new image format developed by Google, designed to create smaller or better looking images on the web. An SVG (Scalable Vector Graphic) can scale up to any size without losing quality, but those usually have to be created by a graphic designer in a special graphics program.
Image Size: It can be confusing when you hear the term “Image Size” because it can mean two different things: the dimensions or the file size. If you see 1000 x 1000 pixels at 72 dpi, that’s the dimensions of an image, and that’s adjustable through an image editing program. If you see it listed in K or MB, that’s the file size. I’m going to talk about both…
Dimensions: For the web, I try to keep images under 1,000 pixels on the longest side, unless I need it to be in a large slide show or portfolio. There are many online apps that resize images, such as PicResize.com but you can also use your computer’s default image editor. All web images are displayed at 72 dpi (dots per inch), so make sure you don’t save at any dpi higher than this as it can weigh the file down and is unnecessary. NOTE: Most people are viewing sites from their phones, now – so large images are becoming outdated!
File Size: Each image should ideally be under 25k in file size, but can be a little more depending on the function and how many images are on that particular page. If you have 25 images on one page, you want them to be fairly light (small in file size). If you have one featured image, it can be a little larger. Ideally, you want to stay under 2MB total – combined – for all content on a page.
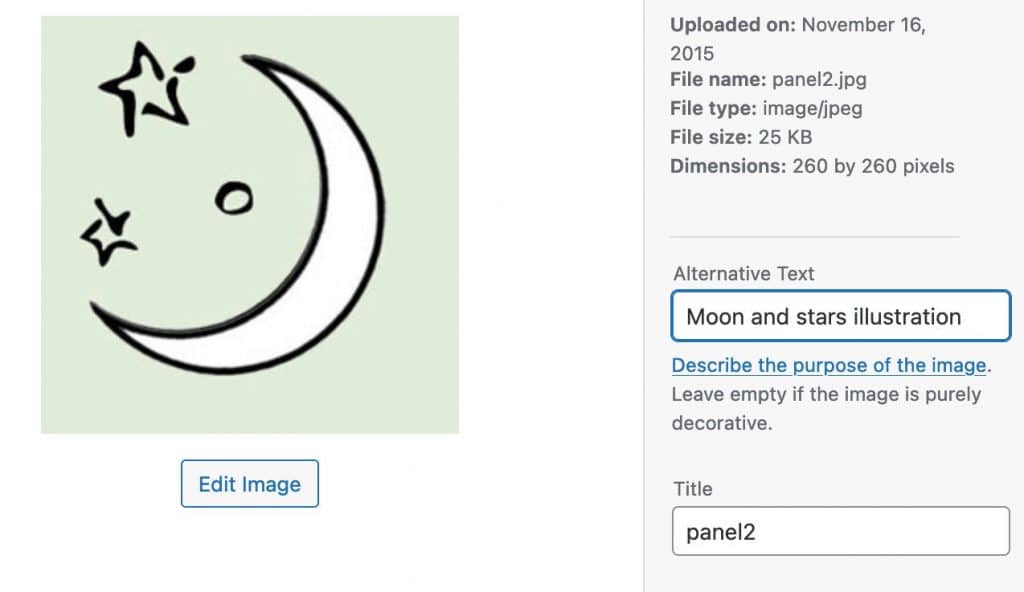
Accessibility: It’s important that you fill out the “Alt Text” or “Alternative Text” for every image you upload. Describe what the image is used for or what’s happening in a photo for the visually impaired. When their readers come upon the image, it will “read” the alt text to them:

You’ll notice on every image you upload to WordPress that it will show you the File Type, File Size, and Dimensions so you can check your work.
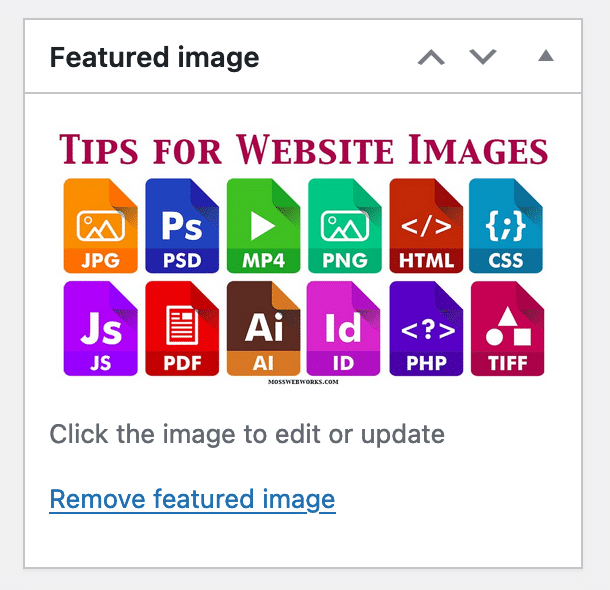
Featured Images – when you’re creating a WordPress post or page, there will be a box in the right hand corner to indicate what “Featured Image” you want attached to it. The Featured Image is usually gets pulled when you share the post on social media. If it’s not designated, it will either show a blank space, the first image in your post/page, or a default image for your site. For blog posts, create a custom featured image for each. It’s up to you whether you want to designate a featured image for every page of your site.
And just to complicate things, social networks have their own dimensions for link images. With Facebook the default is a 1.91:1 ratio which works out to 1200 x 630 pixels or 1000 x 525 pixels. I usually do 1000 x 525 pixels, with 1000 pixels being the length. For Instagram, it’s a 1:1 ratio (square).

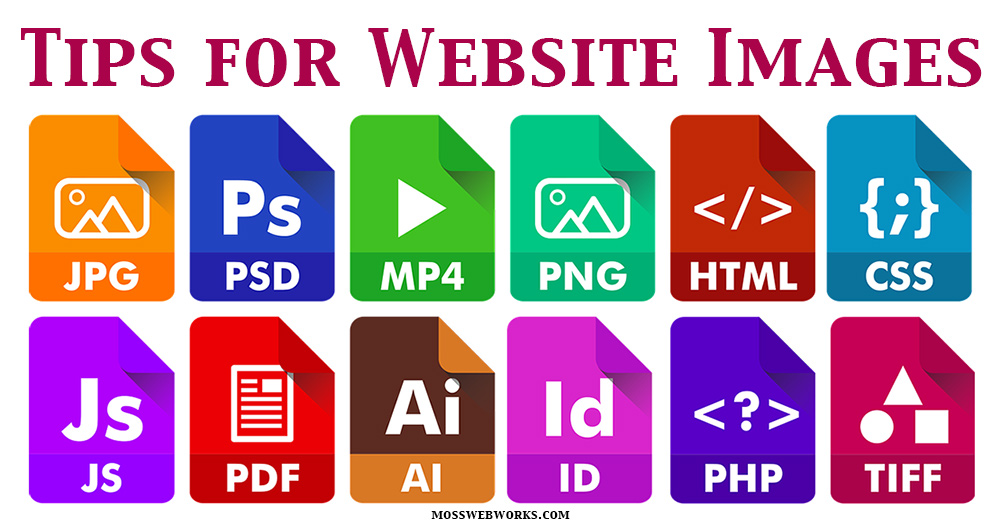
As I stated earlier, it’s OKAY to include text in the Featured Image, because people don’t necessarily read link descriptions when they’re scrolling social media…they’ll just quickly glance at the image. So it tells them quickly what your post/page/link is about.
BAM! So that was a quick primer on website images. I hope you’ve learned a little about images and optimization to make your website the best it can be. If you have any questions, don’t hesitate to contact me.

